This older article refers to static exported sites using the pages router in
Next.js. If you're using the App Router with React Server Components, see my
updated
article.
Implementing a syntax highlighter can elevate the look and feel of code snippets in your Next.js application to that of your favorite desktop editor. These highlighters can also add tremendous burden on client load times and lead to a poor experience for many users. Today we‘ll look at a static generation method that does all the work up front to provide a lightweight and snappy experience for the user!
Static Syntax Highlighting
When you start your journey towards implementing a syntax highlighting solution, you can avoid a lot of mistakes that I made trying to figure out what works best. The end product will look something like this example TypeScript snippet:
components/Example.tsx
interface Example {
  text: string;
}

const Example: React.FC<Example> = (props) => {
  const { text } = props;

  return <div>{text}</div>;
};

// an example of a comment
export default Example;
You may notice that the code snippet matches my website styles, and I’m also able to provide alternate themes for dark and light modes if I so desire.
The Tech Stack
To accomplish the type of snippets I use on this blog, we‘ll be working with the following tech stack:
- Static Markdown files or a headless CMS. While this blog uses Hygraph, you can plug in any headless CMS as long as it allows you to write markdown as a content type. For this tutorial we‘ll just be using local
.mdfiles stored in your Next.js project. - MDX. A Markdown compiler that allows you to render JSX, including custom components. This is so powerful!
- next-mdx-remote. Light utilities that allow Next.js to statically load MDX and then properly hydrate on the client.
- Either highlight.js or Prism to tokenize the code blocks and provide styling classes.
- MDX uses Rehype internally, and provides access to Rehype plugins that we‘ll be using for these highlighters.
Solution
And finally, here‘s how to implement these tools in your Next.js project.
Setup
As a prerequisite, you need a working Next.js app with a page where you would like to load the Markdown content. If you‘re starting from scratch, you can use Create Next App to get a starter project up and running. Once this is ready, install the dependencies we‘ll be using.
npm i --save next-mdx-remote rehype-highlight
Highlight.js or Prism? For this tutorial we‘ll be using Highlight.js, but both options have their merits. If you decide to use Prism instead, simply replace rehype-highlight with @mapbox/rehype-prism, and then use Prism stylesheets instead of the linked Highlight.js stylesheets.
Adding the Markdown
Start off by creating your first Markdown file! We‘ll create a posts folder in your Next.js project and add an example blog post to it.
posts/example.md
# My Example Blog Post

Lorem ipsum dolor sit amet, consectetur adipiscing elit.

```tsx
const test = 'test';

interface Test {
  myProp: string;
}
```
Serializing the Markdown
In your Next.js page, we‘ll use the getStaticProps feature to pass a set of props to the main page component. In production, getStaticProps typically runs at build time, so if you use it properly, Next.js will code split so that none of the dependencies used here are sent in client bundles. Load your Markdown file, then serialize it using next-mdx-remote:
pages/blog/example.jsx
import { serialize } from 'next-mdx-remote/serialize';
import path from 'path';

export const getStaticProps = async (ctx) => {
  // if this is a dynamic route, you can get the post id from ctx.params
  // and use that to load the expected Markdown file
  const post = await fs.readFile(
    path.join(process.cwd(), 'posts', 'example.md'),
    'utf-8',
  );
  const mdxSource = await serialize(post);

  return {
    props: {
      mdxSource,
    },
  };
};
Rendering the Markdown
You‘ll now import the MDXRemote component and use that to render your serialized MDX.
import { MDXRemote } from "next-mdx-remote";

// ...getStaticProps code from earlier

const Page = (props) => {
  const { mdxSource } = props;

  return (
    <>
      <div className="blog-post">
        <MDXRemote {...mdxSource} />
      </div>
    </>
  );
};
</CodeBlock>

export default Page;
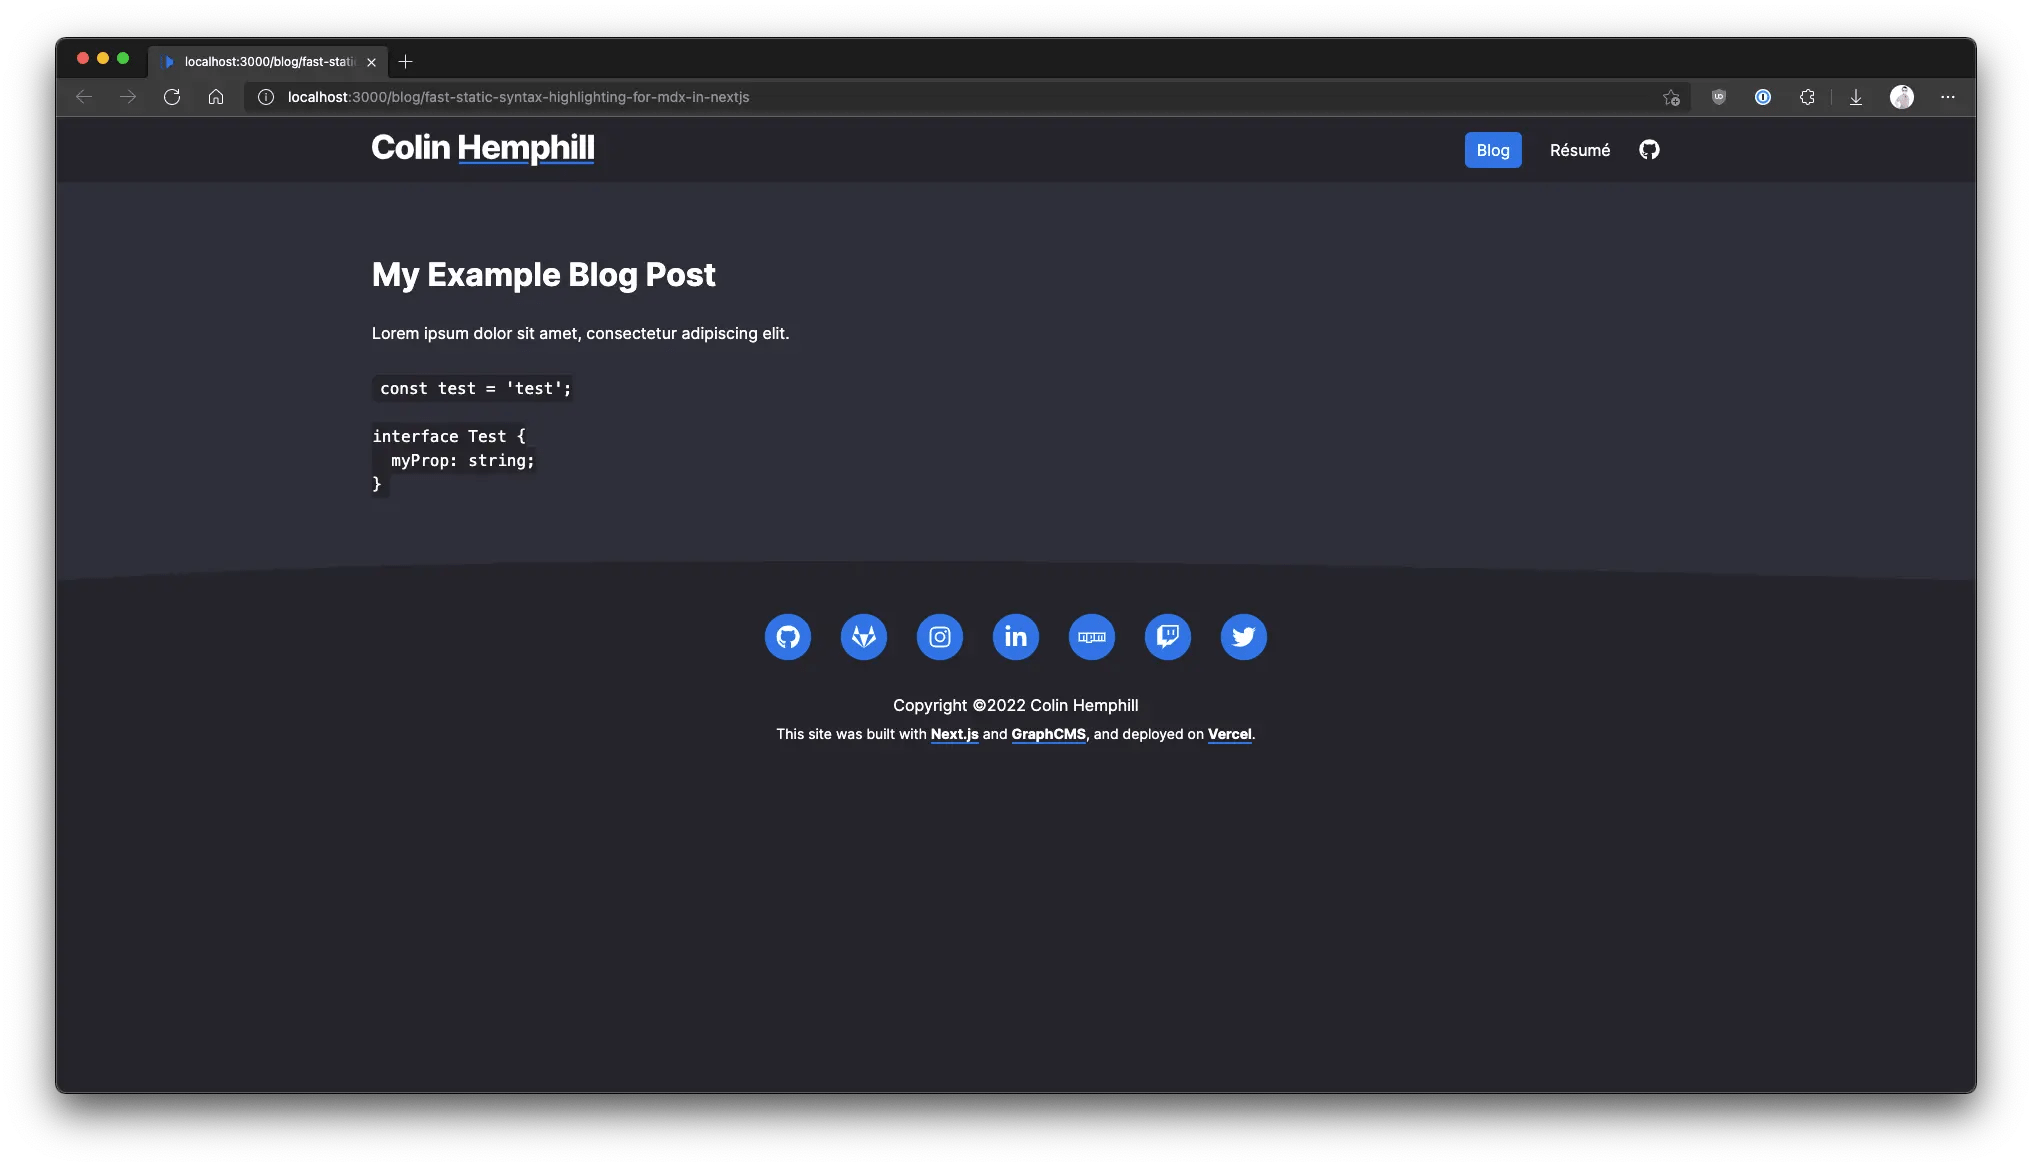
If you open localhost:3000/blog/example you should now see the Markdown content rendered!

If your app includes any styles for pre or code tags you may see those styles applied, but at this point you cannot style individual syntax tokens. Let‘s take care of that part now!
Highlighting the Code
We‘ll now add the Rehype plugin to add syntax highlighting to the serialized code blocks. Make the following small modification where you called the serialize() function:
pages/blog/example.jsx
import rehypeHighlight from 'rehype-highlight';

export const getStaticProps = async (ctx) => {
  //...
  const mdxSource = await serialize(post, {
    mdxOptions: { rehypePlugins: [rehypeHighlight] },
  });
  // ...
};
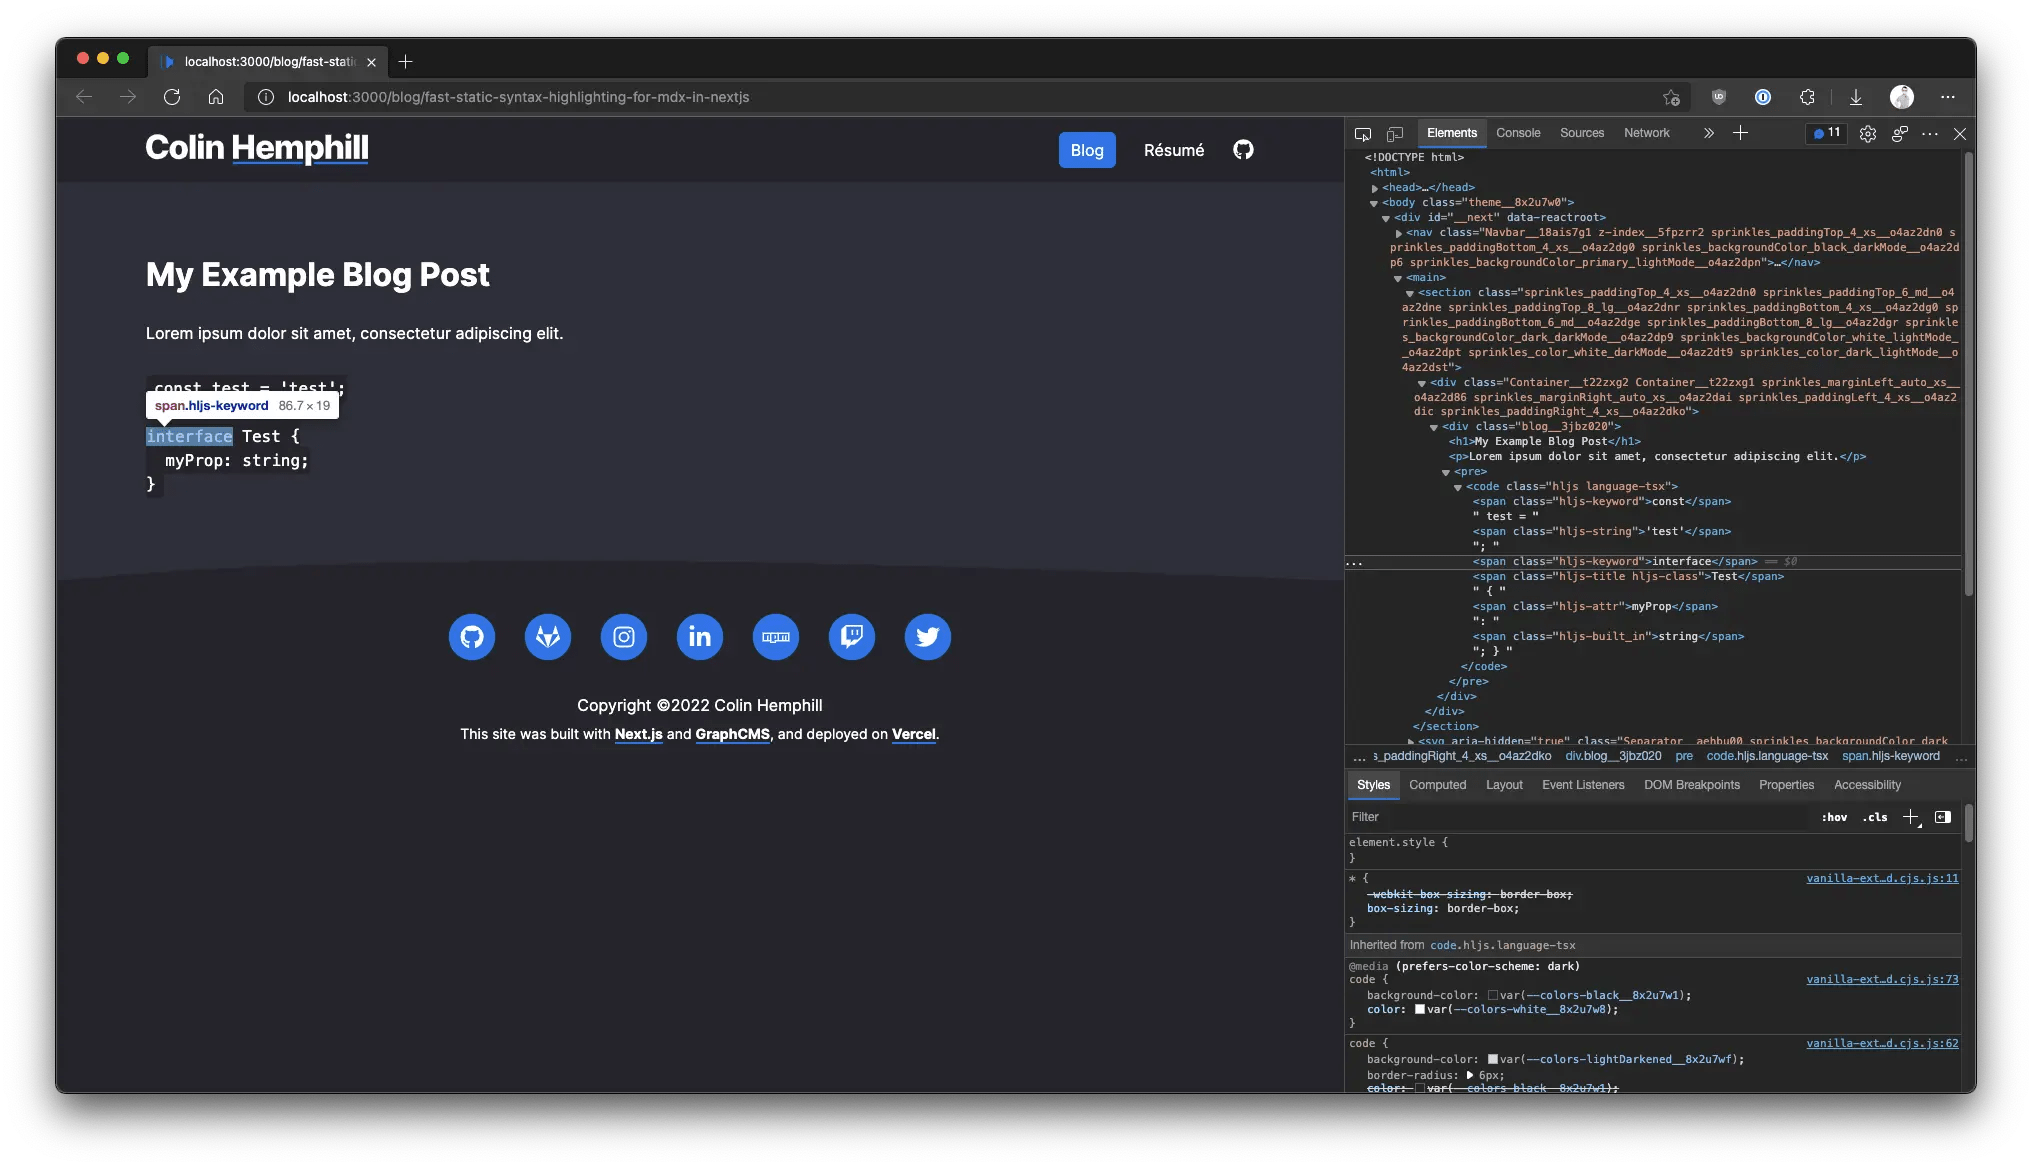
If you view the page, you probably won‘t see any immediate changes. However, if you open the inspector, you should see that Highlight.js has now added classes for tokens within your code block!

All that‘s left is to use those classes to apply a theme.
Adding Styles
Head to the download page on the Highlight.js website. There you have a number of options depending on how you want to load your styles. You can either use their provided CDN to load a stylesheet, or you can download a CSS file for your desired theme and load that with the built-in CSS support in Next.js (which enables hot reloading).
If you‘re downloading a theme, follow the Next.js documentation for adding a global stylesheet to the pages/_app.js file. Note that this will load the stylesheet for the entire app, not just your blog post. You‘ll have to explore CSS Modules or a CSS-in-JS solution if you want to only apply it to a particular page or component.
pages/_app.jsx
import '../styles/hljs.css';
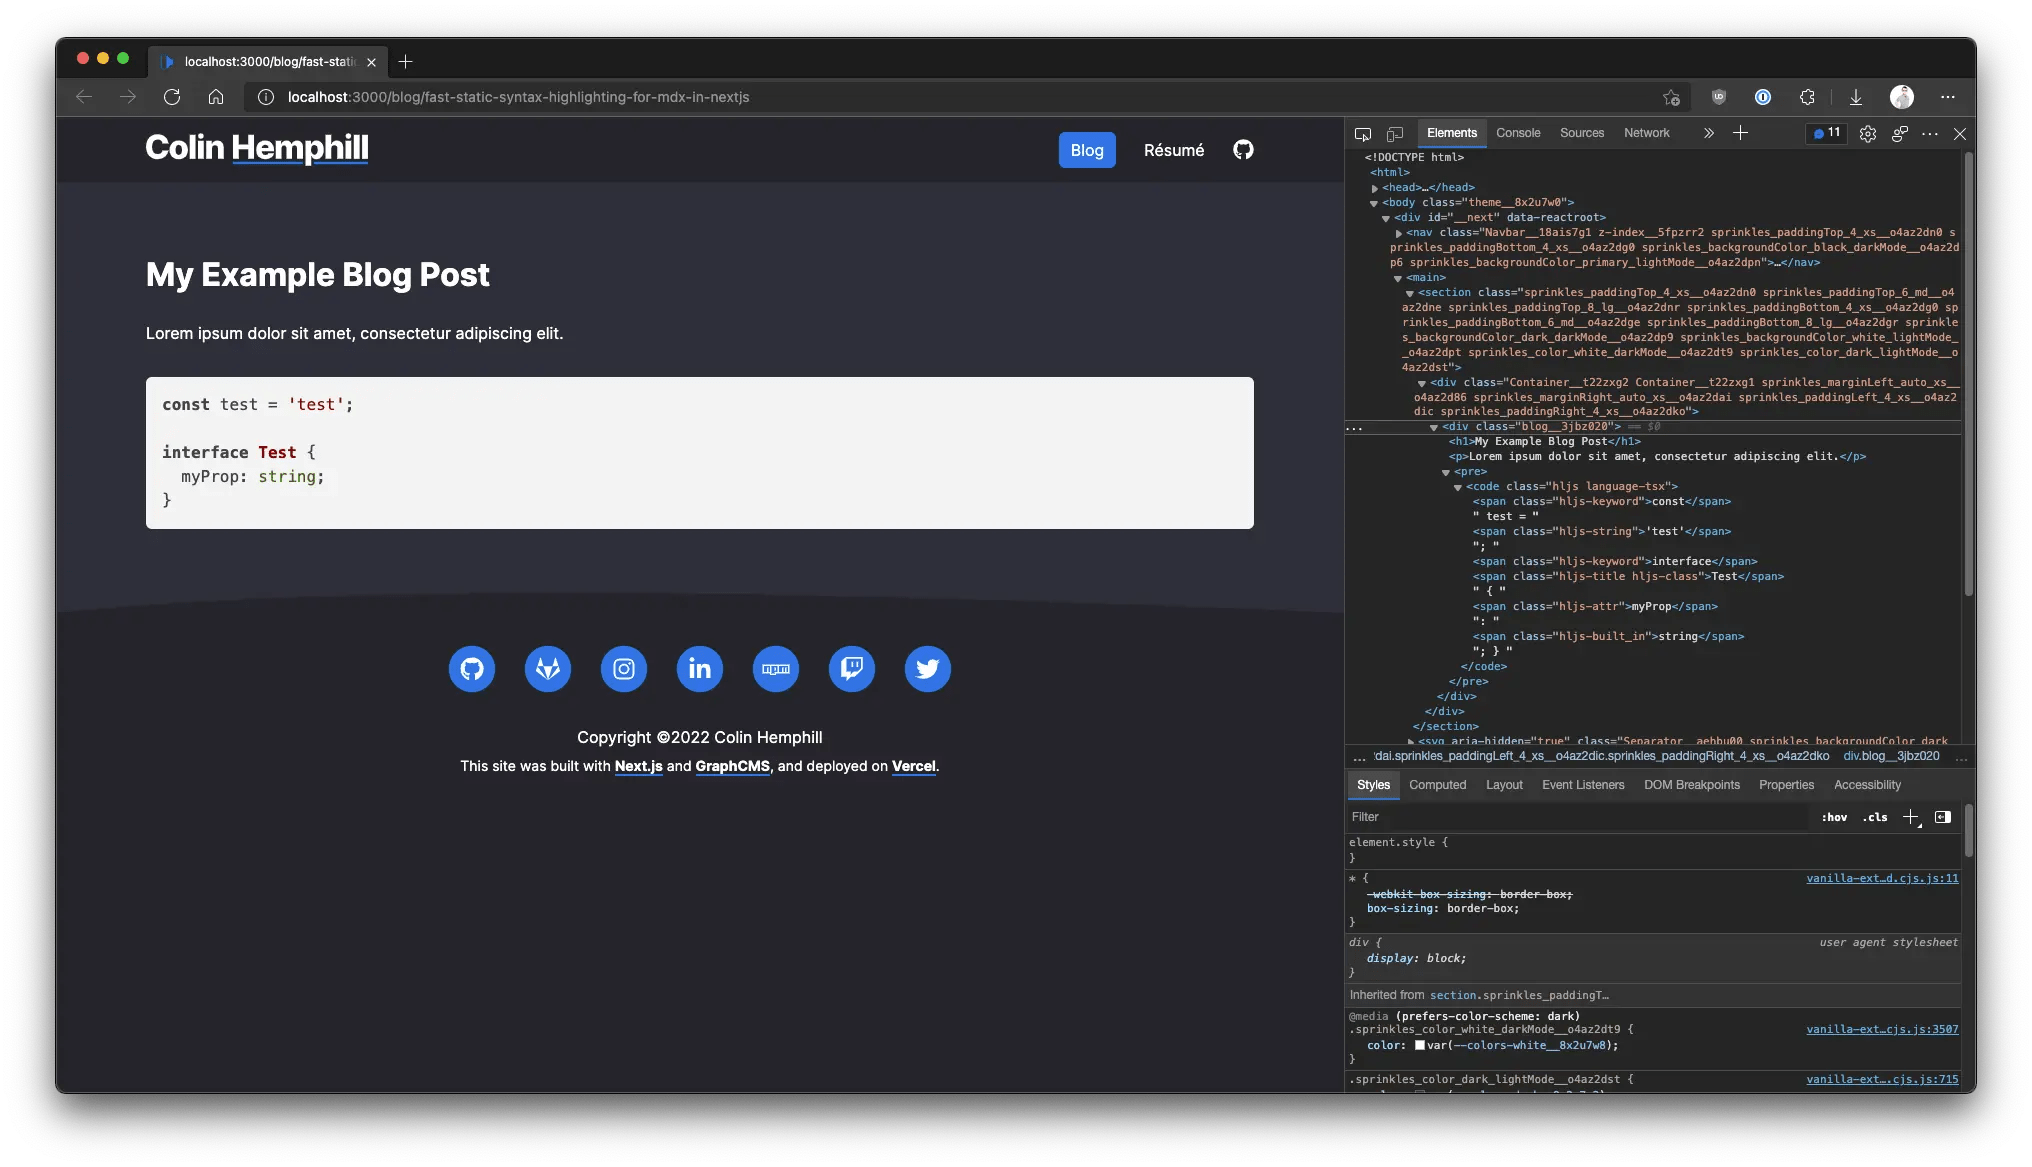
Now that the app knows what the Highlight.js classes should look like, you will see a properly highlighted code block.

Wrapping Up
Because getStaticProps runs at build time to pre-render a page, both the serialization and highlighting of your Markdown is completed before the client ever arrives at your website, resulting in fast load times and no bulky client-side dependencies like Highlight.js or Prism. Since the JSX comes back with the syntax classes ready to go, all the client needs is a stylesheet! And thanks to the work of next-mdx-remote, the hydration and rendering of that serialized MDX is extremely simple to implement.
Next Steps
Although this article is not intended to be a tutorial about MDX, the fact that you‘re rendering your markdown with it opens up tons of possibilities that I want to... highlight 😉
Let‘s try a small example of adding a header to your snippets. Create a quick component for that:
components/CodeSnippetHeader.jsx
const CodeSnippetHeader = (props) => {
  const { children } = props;

  return <div className="code-snippet-header">{children}</div>;
};
Now go back to your post, and we‘ll add that component to your markdown.
posts/example.md
# My Example Blog Post

Lorem ipsum dolor sit amet, consectetur adipiscing elit.

<CodeSnippetHeader>lib/myTestFile.ts</CodeSnippetHeader>

```tsx
const test = 'test';

interface Test {
  myProp: string;
}
```
Make sure there is a line break before and after your component declaration.
If you load the page now you should see an error like this:
Error: Expected component `CodeSnippetHeader` to be defined: you likely forgot to import, pass, or provide it.
This is simply because MDXRemote needs to know how to reconcile what it saw in your Markdown file with a component in the Next.js project. You can do this with the components prop:
pages/blog/example.jsx
import { MDXRemote } from 'next-mdx-remote';
import CodeSnippetHeader from '../components/CodeSnippetHeader';

const Page = (props) => {
  const { mdxSource } = props;

  return (
    <>
      <div className="blog-post">
        <MDXRemote
          {...mdxSource}
          components={{
            CodeSnippetHeader,
          }}
        />
      </div>
    </>
  );
};
Now if you refresh the page, you should see the header component rendered at the position you placed it in your Markdown. You can edit this component and add styles to make it look however you want, then these changes will be reflected anytime MDX renders the component that it sees in your markdown! You can pass props to this component just like you would normally, so if you‘d prefer to have a text prop instead of using children, for example, you could do that.
Remember earlier when I mentioned the Next.js <Image /> component? You could add Image to the components object and easily incorporate optimized images into your Markdown! I‘ve done that for this blog, meaning my CMS-hosted Markdown can use the built-in image optimization capabilities as if I were invoking the component directly.
Final Caveats
Syntax highlighting at build time does provide less flexibility than a client-side implementation, so you may sacrifice certain features available to a tool like React Syntax Highlighter in order to gain these performance benefits. If you find the features lacking for your needs, you can follow the run time directions in the MDX Syntax Highlighting documentation to switch over to using React Syntax Highlighter. Be sure to use one of the async build options to defer the initial load—this may require use of the Dynamic Import feature in Next.js.
However, if you simply want to display a few lines of lovely highlighted code, this static export method is a simple and efficient way to spice up your snippets.

